APIs: Graphics
PAX Graphics is the default way to draw graphics for the MCH2022 badge. Don’t want the getting started? Complete API can be found here.
Getting started
First, download the template app:
git clone https://github.com/badgeteam/mch2022-template-app my_fancy_app
make install
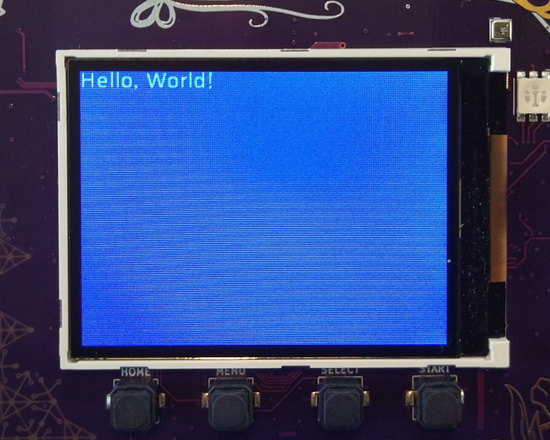
This will download and install the template app to your badge, showing a colorful “Hello, World!”.
Simply repeat the make install step every time you want to test your app.
To avoid clutter, remove the graphics from the while loop and make a function containing just the graphics code:
// before main ...
// A neat little graphics function.
void my_fancy_graphics() {
    // This fills the screen with blue.
    // Color:              aarrggbb (like #rrggbb but with 0xff instead of #).
    pax_background(&buf, 0xff0000ff);
}
// in main ...
    while (1) {
        // Call our graphics function.
        my_fancy_graphics();
        // Draw them to the screen.
        disp_flush();

        // Await any button press and do another cycle.
        // Structure used to receive data.
        rp2040_input_message_t message;
        // Await forever (because of portMAX_DELAY), a button press.
        xQueueReceive(buttonQueue, &message, portMAX_DELAY);

        // Is the home button currently pressed?
        if (message.input == RP2040_INPUT_BUTTON_HOME && message.state) {
            // If home is pressed, exit to launcher.
            exit_to_launcher();
        }
    }
//...
Note that graphics aren’t immediately shown on screen, this is handled by disp_flush().
Simple HelloWorld
Let’s start by drawing some white text on the blue background:
//...
// A neat little graphics function.
void my_fancy_graphics() {
    // This fills the screen with blue.
    // Color:              aarrggbb (like #rrggbb but with 0xff instead of #).
    pax_background(&buf, 0xff0000ff);
    // This draws white text in the top left corner.
    float text_x     = 0;                   // Offset from the left.
    float text_y     = 0;                   // Offset from the top.
    char *my_text    = "Hello, World!";     // You can pick any message you'd like.
    float text_size  = 18;                  // The normal size for saira regular.
    pax_draw_text(&buf, 0xffffffff, pax_font_saira_regular, text_size, text_x, text_y, my_text);
}
//...
Play around with the parameters and see what happens. Try changing text_x and
text_y to see where it appears on screen, or maybe change text_font to (for
example) pax_font_sky.
Using Images
Using images requires a bit more work, but is still easy to do. First, you
must include #include <pax_codecs.h> in each file that decodes PNG
images.
Next, find an image that fits in memory (so make it small). Add this
to the main folder, next to main.c and include it in CMakeLists.txt:
idf_component_register(
    SRCS
        # You source files are here, there might be more than just main.c
        "main.c"
    INCLUDE_DIRS
        # The directories to open header files from are here, again, there might be more.
        "." "include"
    EMBED_FILES
        # This is the location of your image.
        ${project_dir}/main/my_image.png
)
The EMBED_FILES directive causes the file’s data to be included mostly as if it were a source file.
You reference the files like so:
//...
extern const uint8_t image_start[] asm("_binary_my_image_png_start");
extern const uint8_t image_end[]   asm("_binary_my_image_png_end");
//...
This tells the compiler where to find the image. When embedding files, they will always be named in a similiar manner.
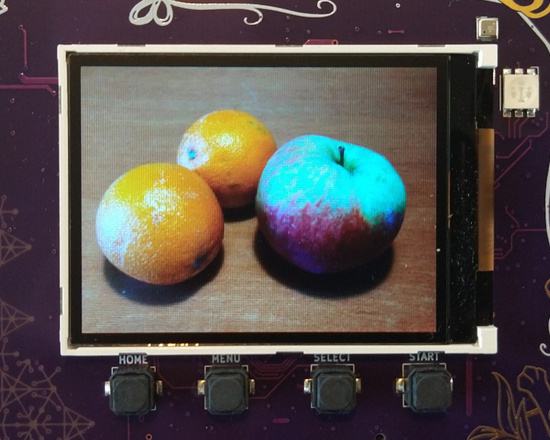
Finally, draw the image using pax_insert_png_buf. If your image is located
on the SD card or internal filesystem, use pax_insert_png_fd instead.
//...
// A neat little graphics function.
void my_fancy_graphics() {
    // Blue background in case decoding the PNG fails.
    pax_background(&buf, 0xff0000ff);

    // Draws an image, but does not support transformations.
    pax_insert_png_buf(&buf, image_start, image_end-image_start, 0, 0, CODEC_FLAG_OPTIMAL);
}
//...
If your screen turned blue, then the image may have failed to decode.
Try running make monitor and re-opening the app to see what happened (most
likely, the image is too big to fit in memory). To exit make monitor, press
CTRL+]
Getting more abstract
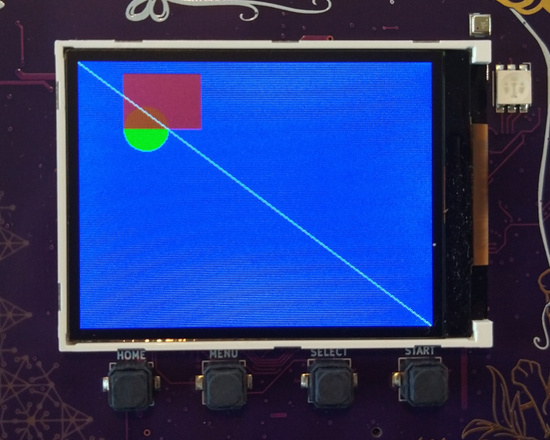
Of course, you can do much more than just drawing text! Shown here is an example of drawing a rectangle, a circle and a line:
//...
    // Draw a green circle (position is center).
    //                    color       x   y   radius
    pax_draw_circle(&buf, 0xff00ff00, 60, 60, 20);
    // Draw a transparent red rectangle (position is top left corner).
    //                  color       x   y   width  height
    pax_draw_rect(&buf, 0xb0ff0000, 40, 10, 70,    50);
    // Draw a white line across the entire screen.
    //                  color       x1  y1  x2         y2
    pax_draw_line(&buf, 0xffffffff, 0,  0,  buf.width, buf.height);
//...
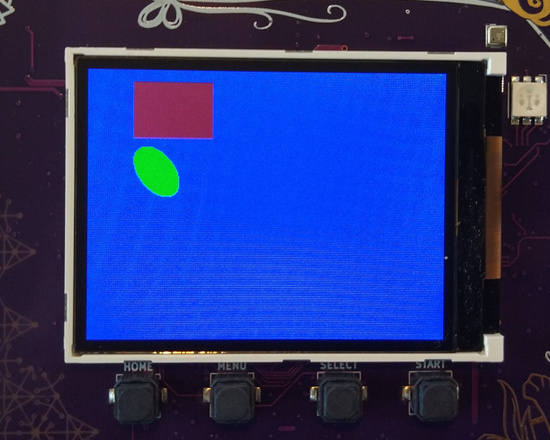
PAX (the graphics) also supports matrix transformations.
In short, this feature allows you to stretch, resize, rotate and move around drawing. Consider the following example:
//...
    // Save this for later.
    pax_push_2d(&buf);
        // Modify the translation: shear it.
        pax_apply_2d(&buf, matrix_2d_shear(0.5, 0));
        // This will no longer have a circular shape.
        pax_draw_circle(&buf, 0xff00ff00, 60, 60, 20);
    // Restore the matrix.
    pax_pop_2d(&buf);

    // This will still have a rectangular shape.
    pax_draw_rect(&buf, 0xb0ff0000, 40, 10, 70,    50);
//...
Where to Go from Here?
For further details about the library, have a look at the API reference in the library’s repository, robotman2412/pax-graphics